Introduction
1. Install GHOST Wallet
Pick the browser where that has your Metamask that interacts with ghostDAO. ghostWallet supports Firefox and Chrome.
Chrome Extension
To install GHOST Wallet on Chrome browser go to GHOST Git.
Scroll all the way to the bottom and find the most current GHOST Wallet Extension Zip, it should be called [email protected] – download and unzip it.
To Install GHOST Wallet on Chrome Browser, please refer to the Official Chrome Guide.
We recommend that you pin the GHOST Wallet Extension on the browser ribbon for easier access.
Firefox Extension
Firefox browser allows for temporary add-on install. With every restart GHOST Wallet Add-on will disappear. For his reason we do not recommend the GHOST Wallet Add-on for continuous use.
To temporary install GHOST Wallet on Firefox browser go to GHOST Git.
Scroll all the way to the bottom and find the most current GHOST Wallet Add-on Zip, it should be called [email protected] – download and unzip it.
To load temporary GHOST Wallet Add-onon Firefox Browser, please refer to the Official Firefox Guide.
We recommend that you pin the GHOST Wallet Add-on on the browser ribbon for easier access.
2. Create new GHOST Wallet
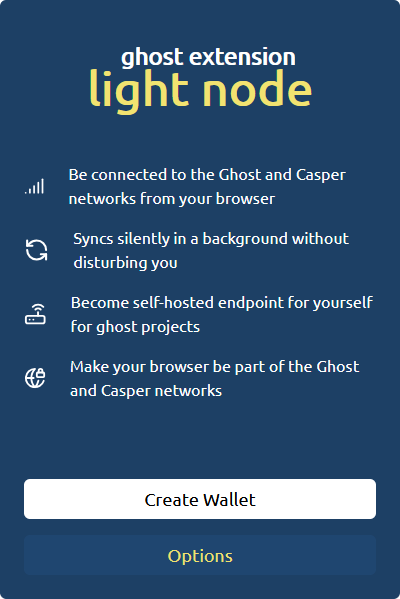
To a create new wallet open GHOST Wallet and click Create Wallet.
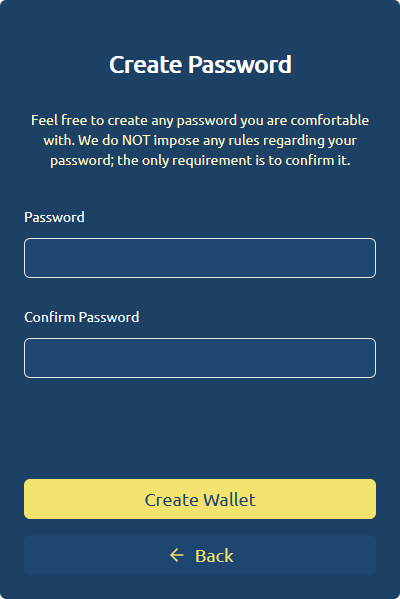
Enter Password and New Password
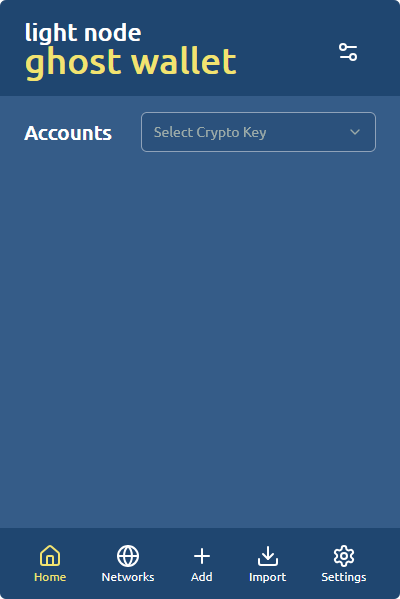
You should see blank GHOST Wallet Screen.
3. Create new GHOST Wallet Account
To create a new GHOST Wallet Account click on Add
Then follow the 3 step process for GHOST Wallet Account Creation.
Choose Account Name
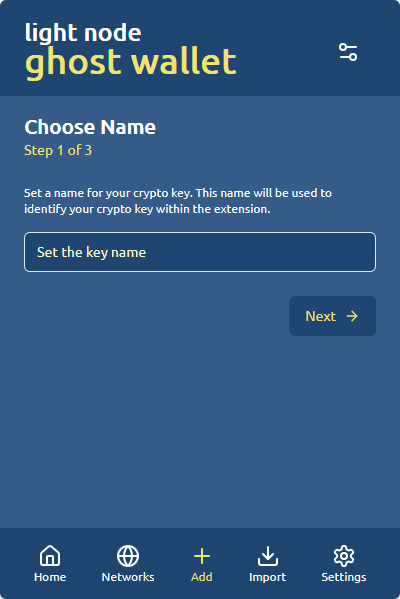
Set a name for your crypto key. This name will be used to identify your crypto key within the extension.
Select Crypto Scheme
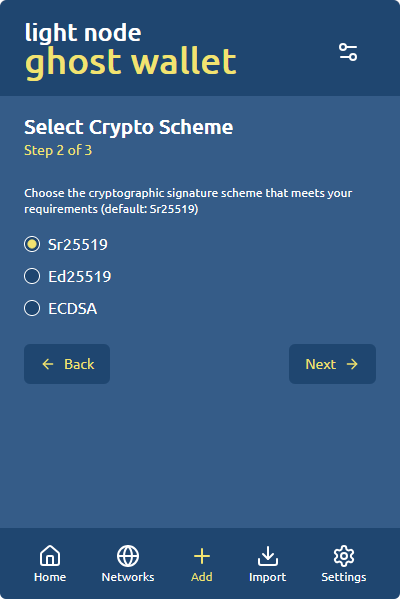
Choose the cryptographic signature scheme that meets your requirements. Stick to default Sr25519 unless you know what you are doing.
Review Seed Phrase
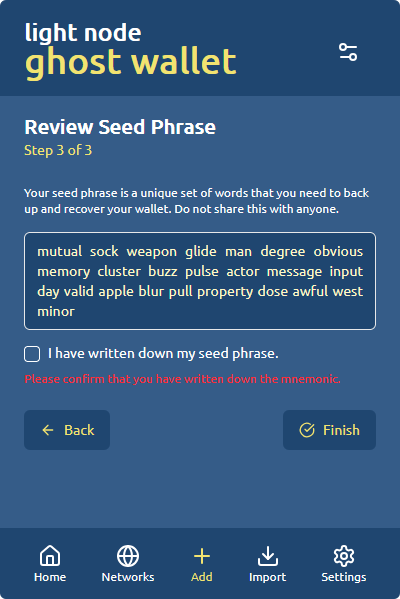
Make sure to save the seed phrase provided. Write it down on a separate sheet of paper.
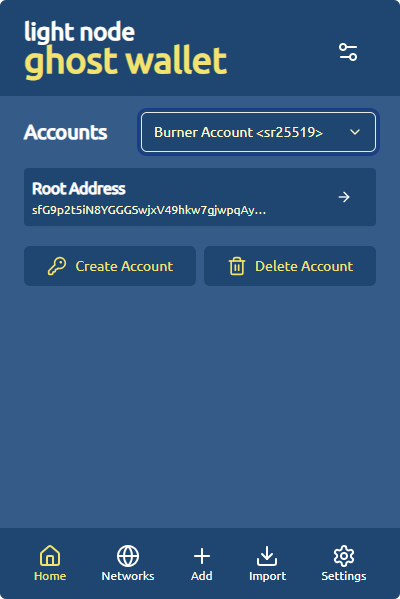
New GHOST Wallet Account
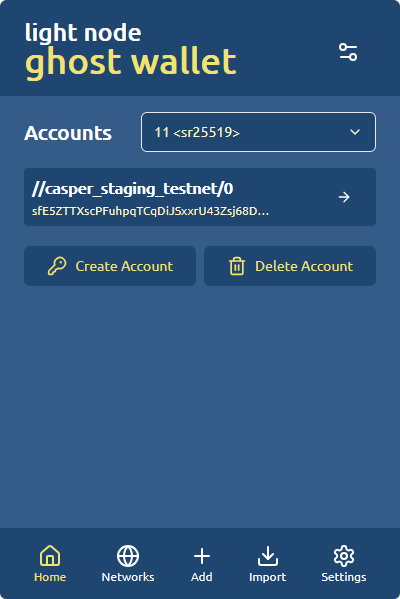
Now you should have a new GHOST Wallet Account visible in you GHOST Wallet.
4. Import existing GHOST Eye Account into GHOST Wallet
Go to the terminal of your GHOST Node.
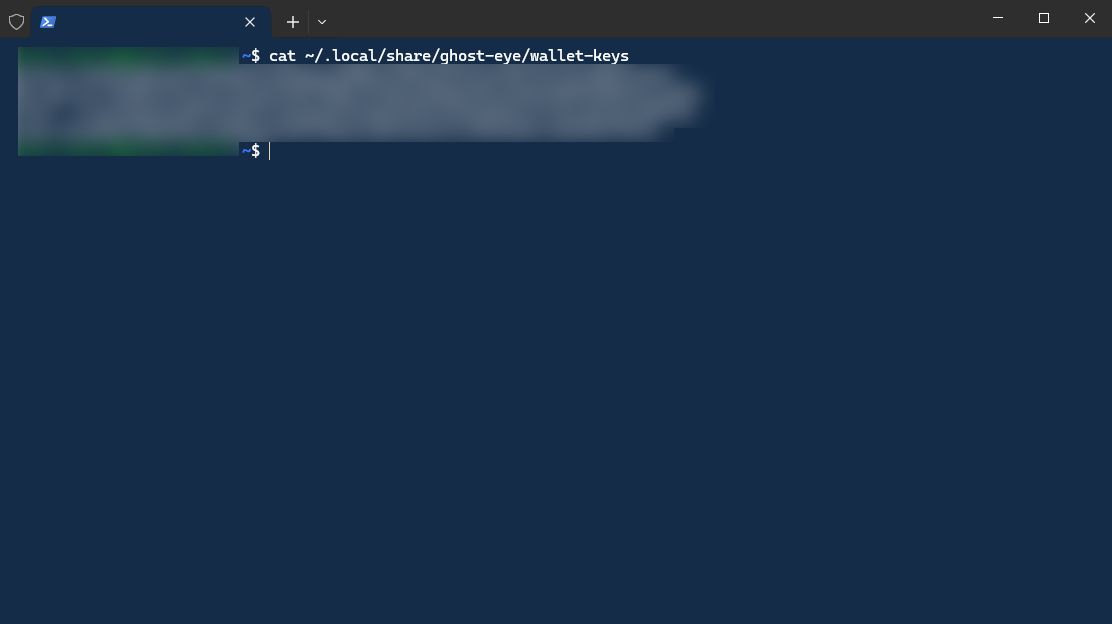
Run GHOST Node Keys command:
cat ~/.local/share/ghost-eye/wallet-keysCopy one of the keys that starts with:
0x123456789034543534534534534534534543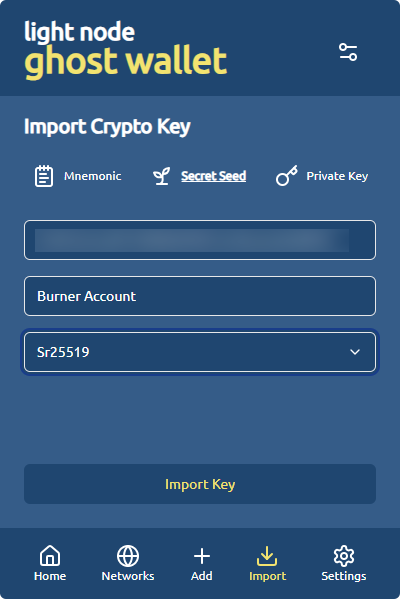
Go to GHOST Wallet, click Import, click Secret Seed.
Paste the key in the Enter secret seed Field. Give this account a name in the Enter crypto key name field. Select Sr25519 in the Select Key Type field. Click Import Key. Now you should have a GHOST Eye account imported in the GHOST Wallet.
5. Operating GHOST Lite Node
Once you have set up your GHOST Wallet go to GHOST Lite Node OR go to GHOST Wallet, click Settings, click GHOST Lite. Wait until the GHOST Lite Node says Connected in the upper right corner.
Health Check
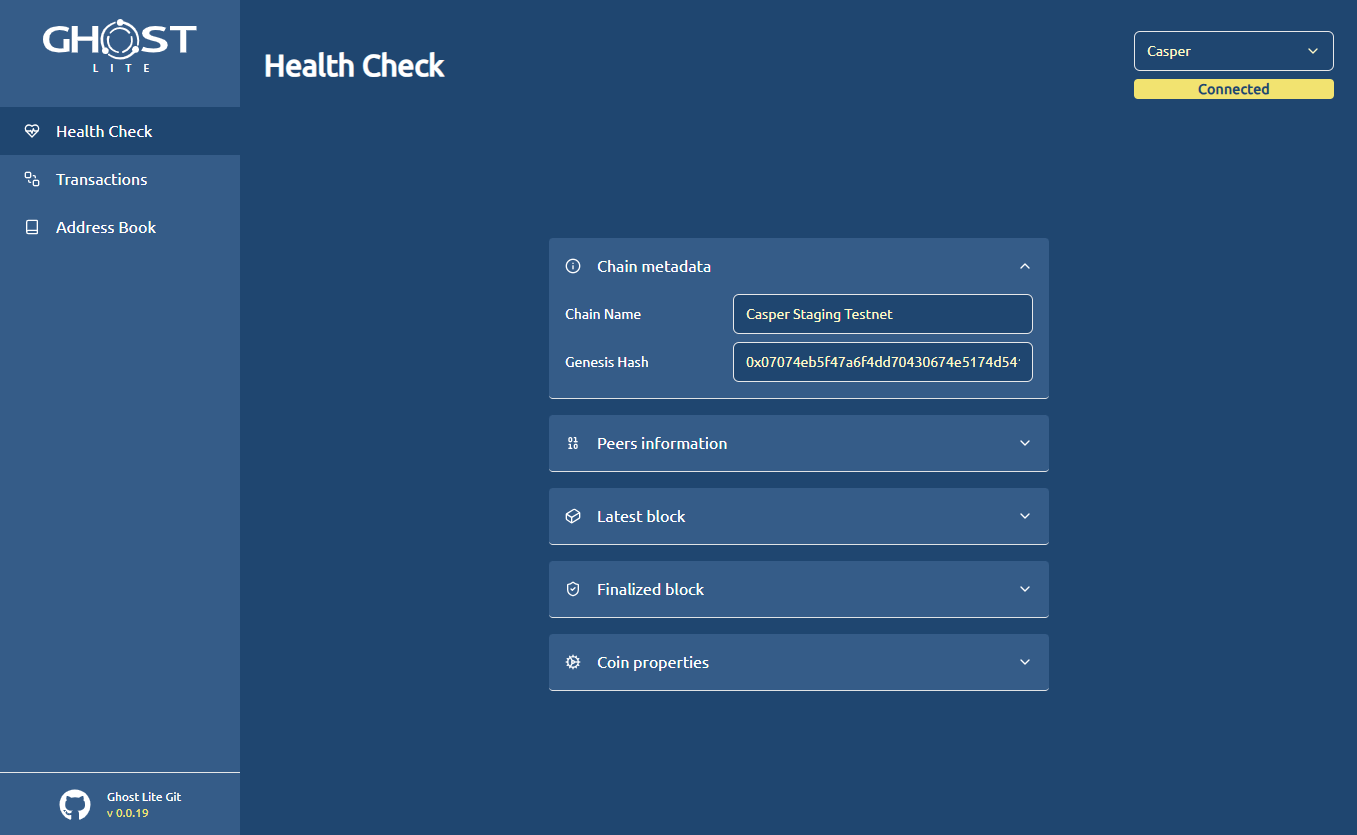
Once the browser says Connected in the upper right corner your browser is now part of the network and all settings, $CSPR balances, etc should be accessible from the browser.
Transactions
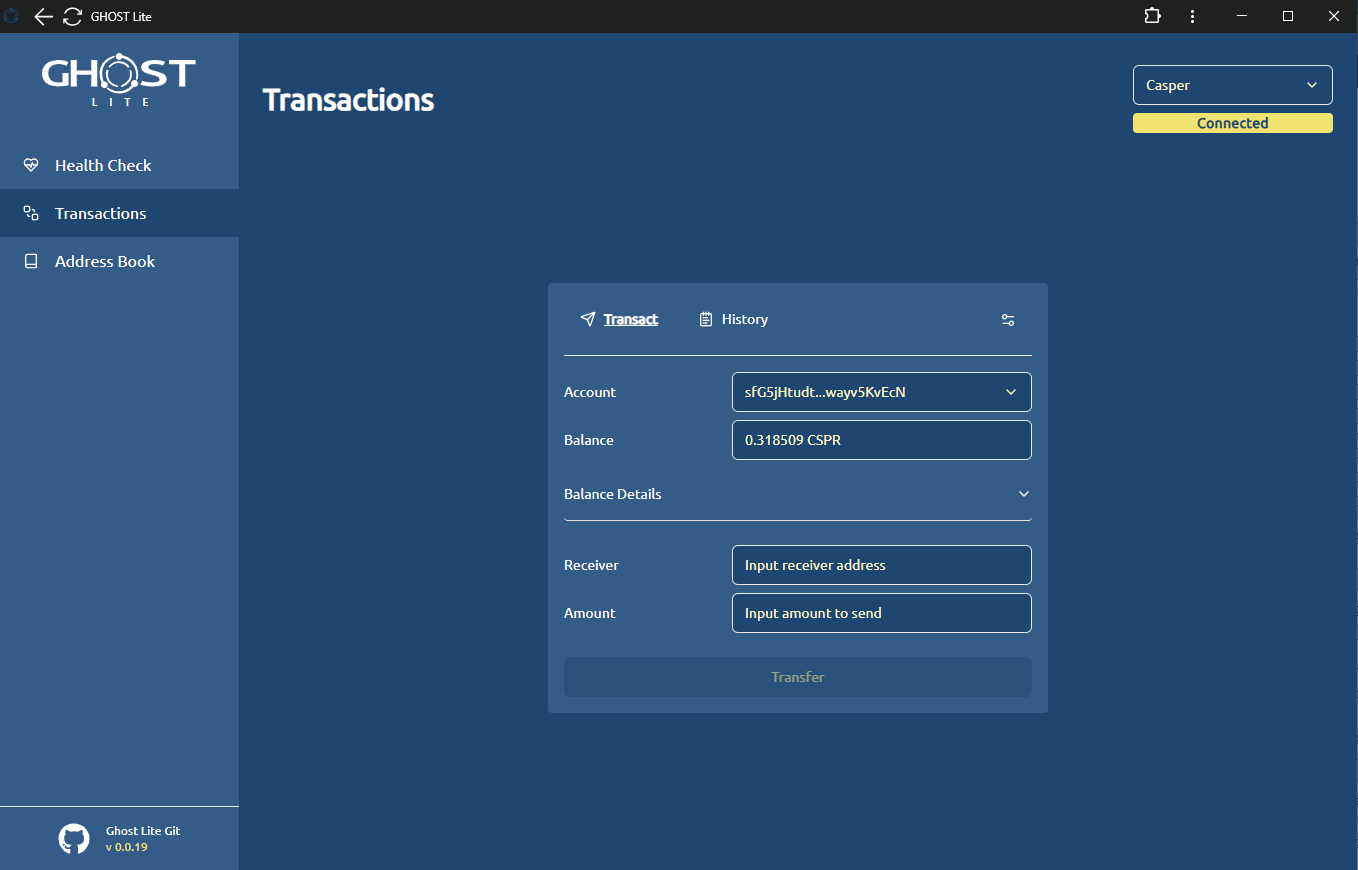
You can send $CSPR to other wallets on the GHOST Testnet in the Transaction tab. Go to Transaction Tab, select the account that has a $CSPR balance, specify a receiving address and the $CSPR amount you want to send. To finalize the transaction click Transfer.
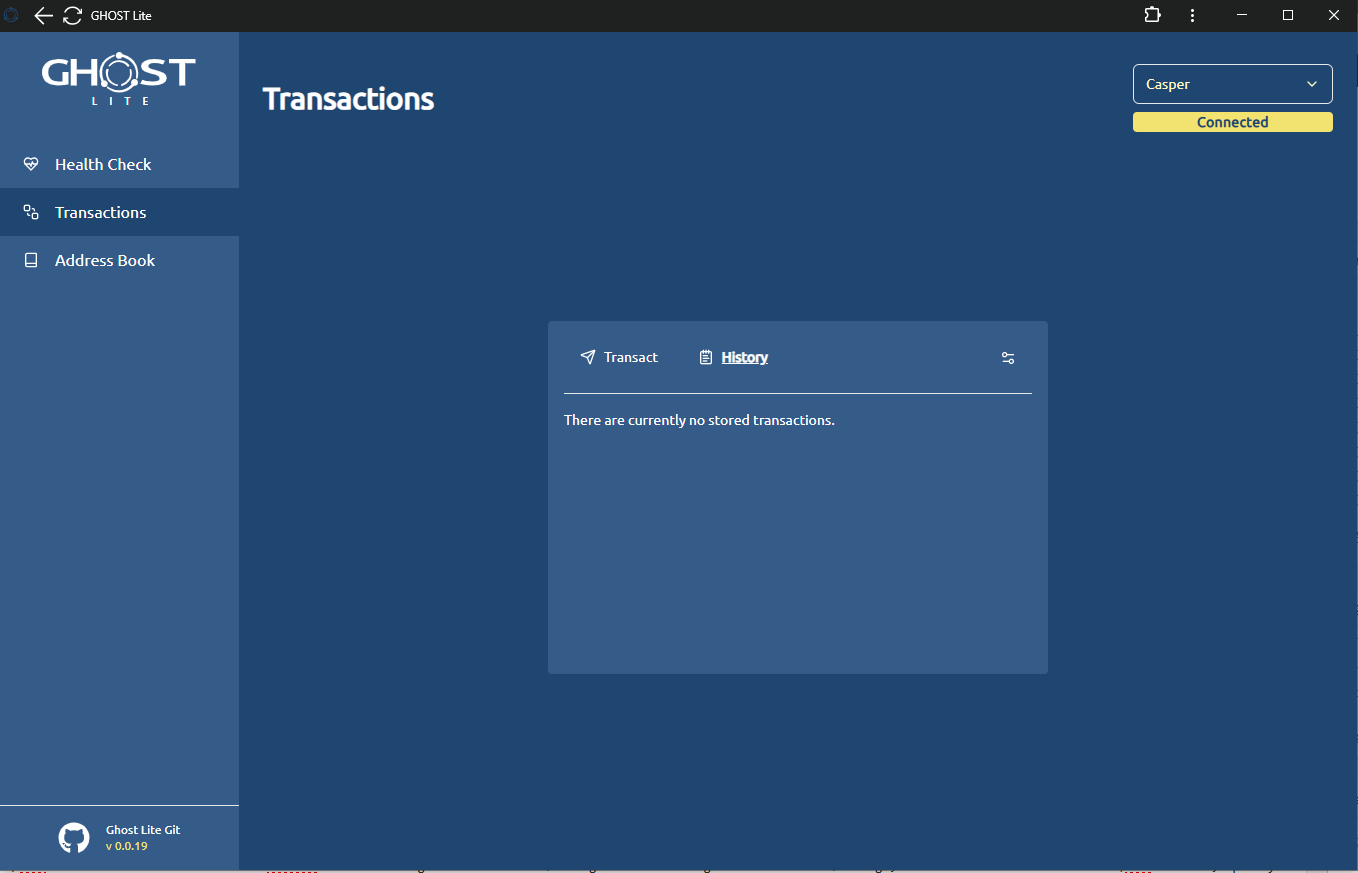
The history of your transactions should be in the tab.
Address Book
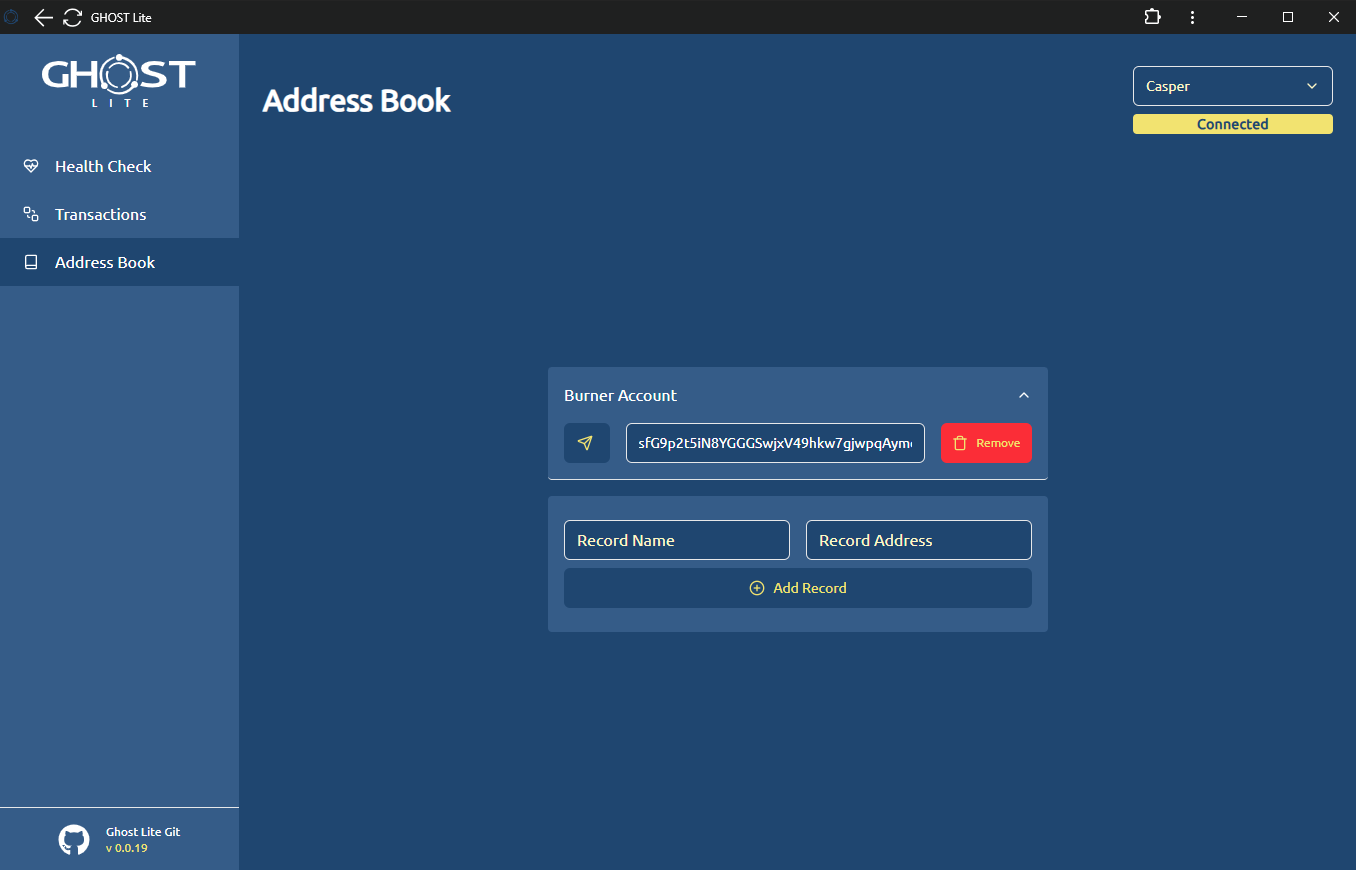
To add new contacts in your address book specify the Wallet Name and Wallet Address and click Add Record.
For example you can add the following contact in your address book.
This account needs some love and attention:
Burner AccountsfG9p2t5iN8YGGGSwjxV49hkw7gjwpqAymcM9vJj5K3gA86jwTo send funds to your contact, expand the contact view, click on the Paper plane icon, and proceed with sending the funds as described in 2. Transactions section.
Nominations
Nominations tab enables a user to nominate existing validators to stake assets on a nominator’s behalf. In order to nominate a validator the nominator must:
- create bond
- nominate to that bond to be staked by one of the current validators
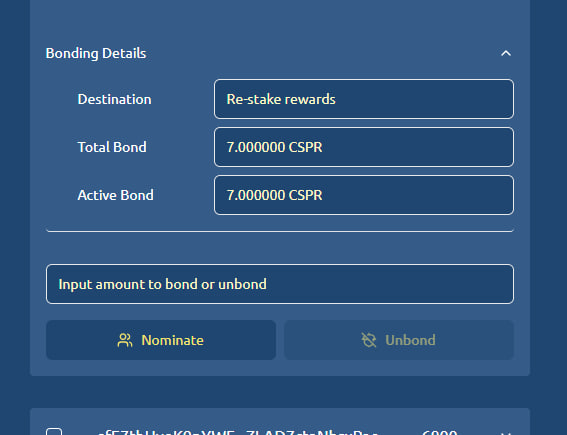
Step 1 – Create Bond
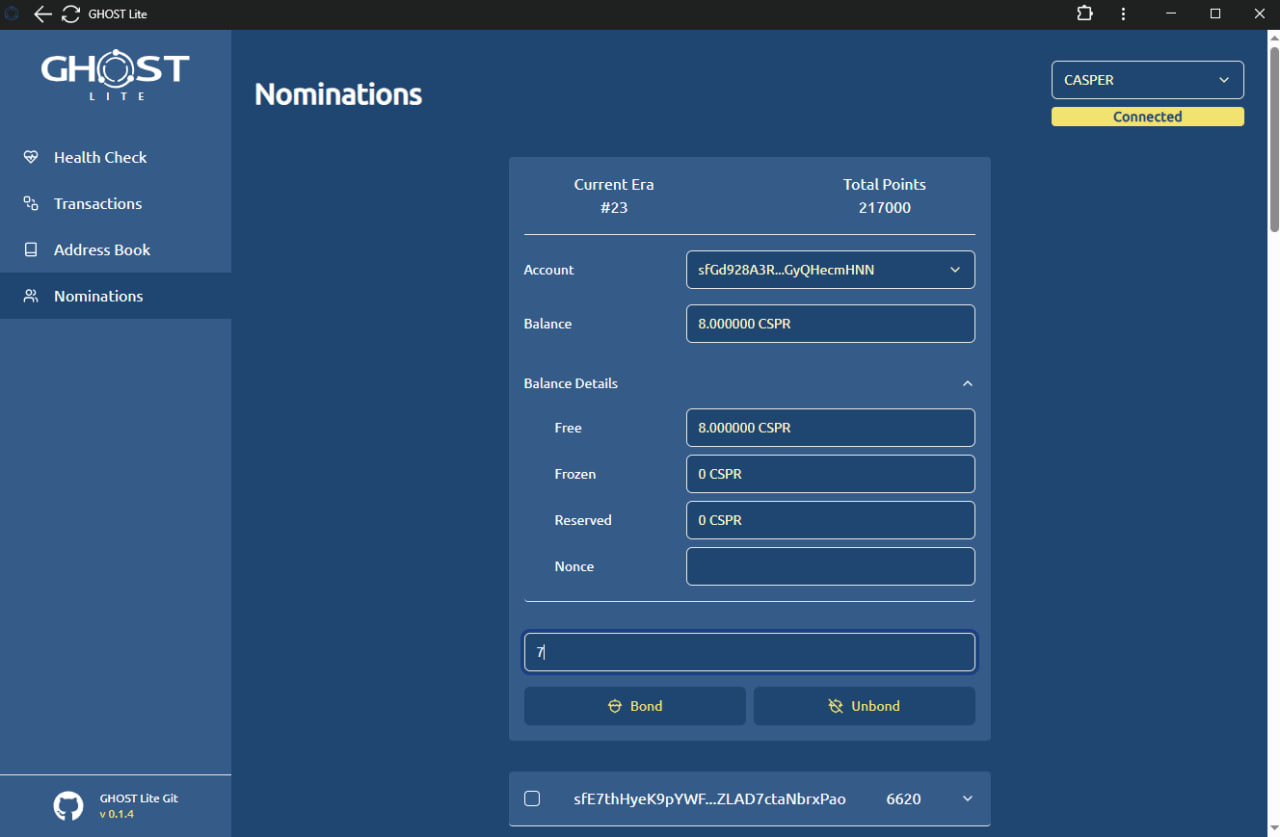
The minimum bond balance is 7 $CSPR. To create a bond:
- Type the balance in Input amount to bond or unbond input field
- Click Bond button
- Sign Request in the GHOST Wallet Popup
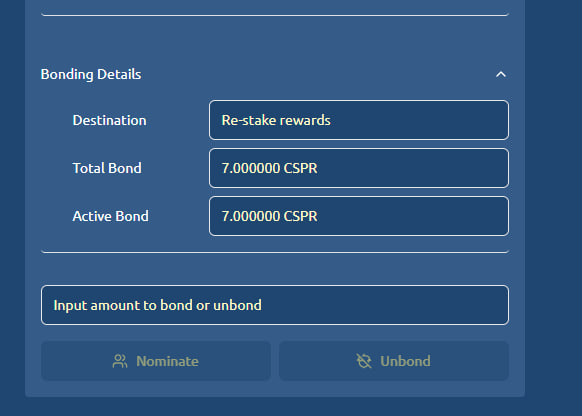
Once the bond is approved you should see Bonding Details
Step 2 – Choose Validators
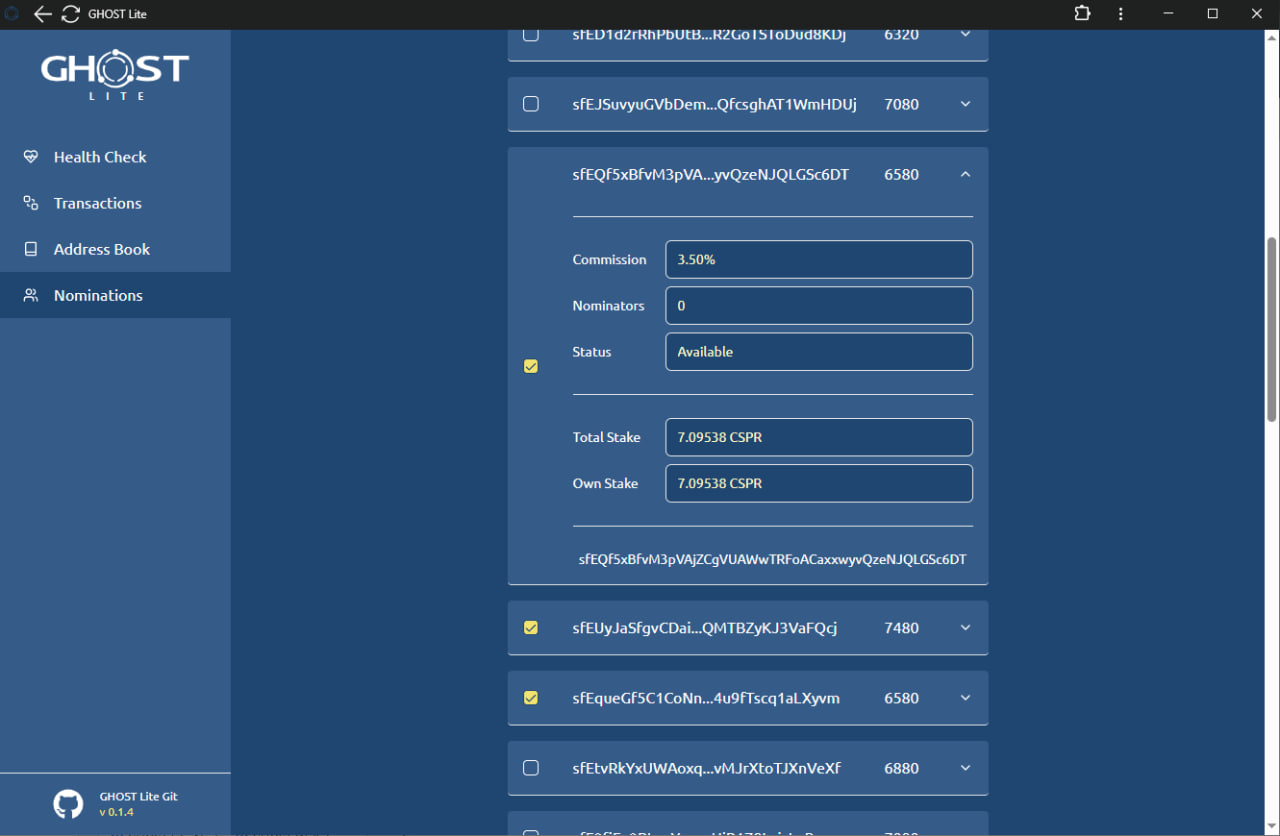
Once the bond is created a user can choose one or multiple validators to stake on user’s behalf. The stake will distributed proportionally to the validators’ own stake. To choose a validator/validators check the boxes:
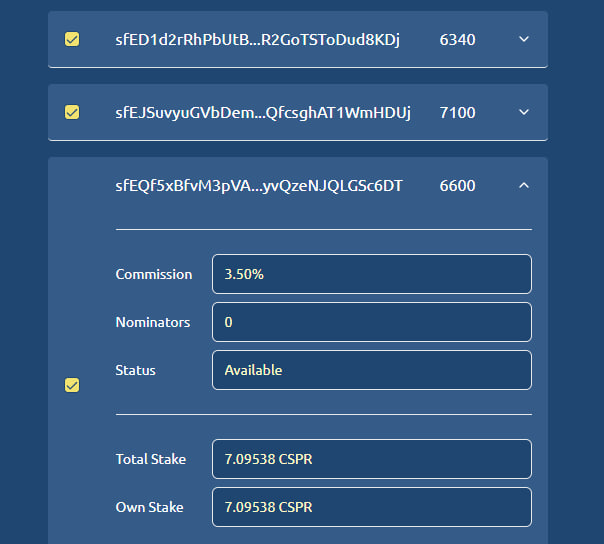
Commission – is the percentage the nominator will pay for the privilege of staking
Nominators – the number of other Nominators currently staking with the following Validators.
Status – is the current state of the Validator. Each validator can either be Available or Disabled.
Total Stake – is the combined amount of $CSPR currently staked by the Validator and all Nominators.
Own Stake – is the $CSPP amount currently staked by the Nominator
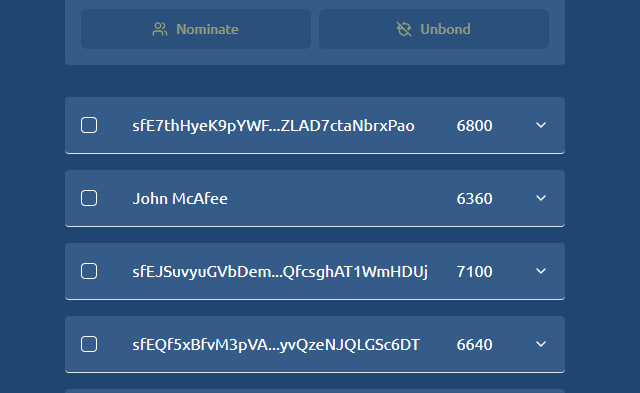
Step 3 – Nominate
Once the nominator is satisfied with validator selection:
- Click Nominate button
- Approve request in the popup
Step 4 – Address Book Optional
Validators can be displayed as names instead of addresses based on the contact information saved in the address book.
GHOST Lite Changelog
GHOST Wallet v0.1.4
- Avoid hard-coded network data @74f922fd
- Rename chain identifiers to follow the project’s naming conventions @74f922fd
- Update to the latest chain specification @eff6e61a
- Make builder.sh work correctly @d74d7af
- Fix issue with the select element in Firefox @8cad0db3
- Minor typo and naming corrections
![Read more about the article GHOST Chain Startup Guide [~ 4HRS]](https://blog.ghostchain.io/wp-content/uploads/2024/09/GHOST-Chain-Startup-Featured-Image-300x157.png)